Porting to Unity IX: Overworld Props
This wraps up the overworld map graphics for now, as it did in the last series. Again I'm temporarily using HoMM 3 assets for demonstration purposes, but the concepts are generally applicable. The prop texture atlas contains subtextures that are multiples of 32, so I'll call that a prop tile. E.g. some mountain ranges occupy 6x4 prop tiles, while a single tree stump would occupy 1x1 prop tile. The parts that have been changed since last time are steps 3 & 4: placement and rendering.
Procedural placement
Placement is done as a series of steps:
- Place high mountains
- Fill high mountains
- Place mountains
- Place vegetation
- Place misc props
Placed props may overlap if this is supported (see composition group in above linked post). All of the steps follow a similar pattern:
- Generate a step-specific set of candidate tiles to place the props
- Select a step-specific subset of props to be placed
- Run the placement process, checking composition groups, neighbour tiles, compatible biomes, etc
When we've placed everything, we do:
- Sort from top-to-bottom of the map so that props in the foreground occlude props in the background (tiles further up/back).
- Remove props that are completely covered by other props
- Generate a 2D texture array that stores placement info (for each tile, which corresponding prop tile from the atlas we should be rendering)
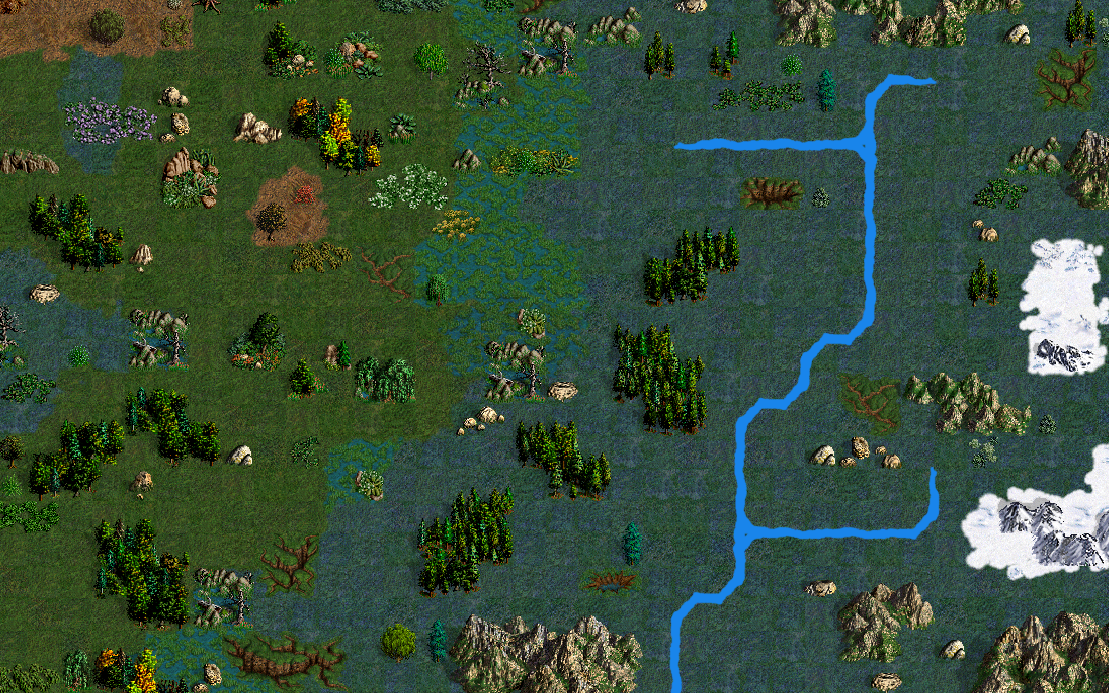
Here are the results of the placement algorithm:
And here's a super-resolution image of the map